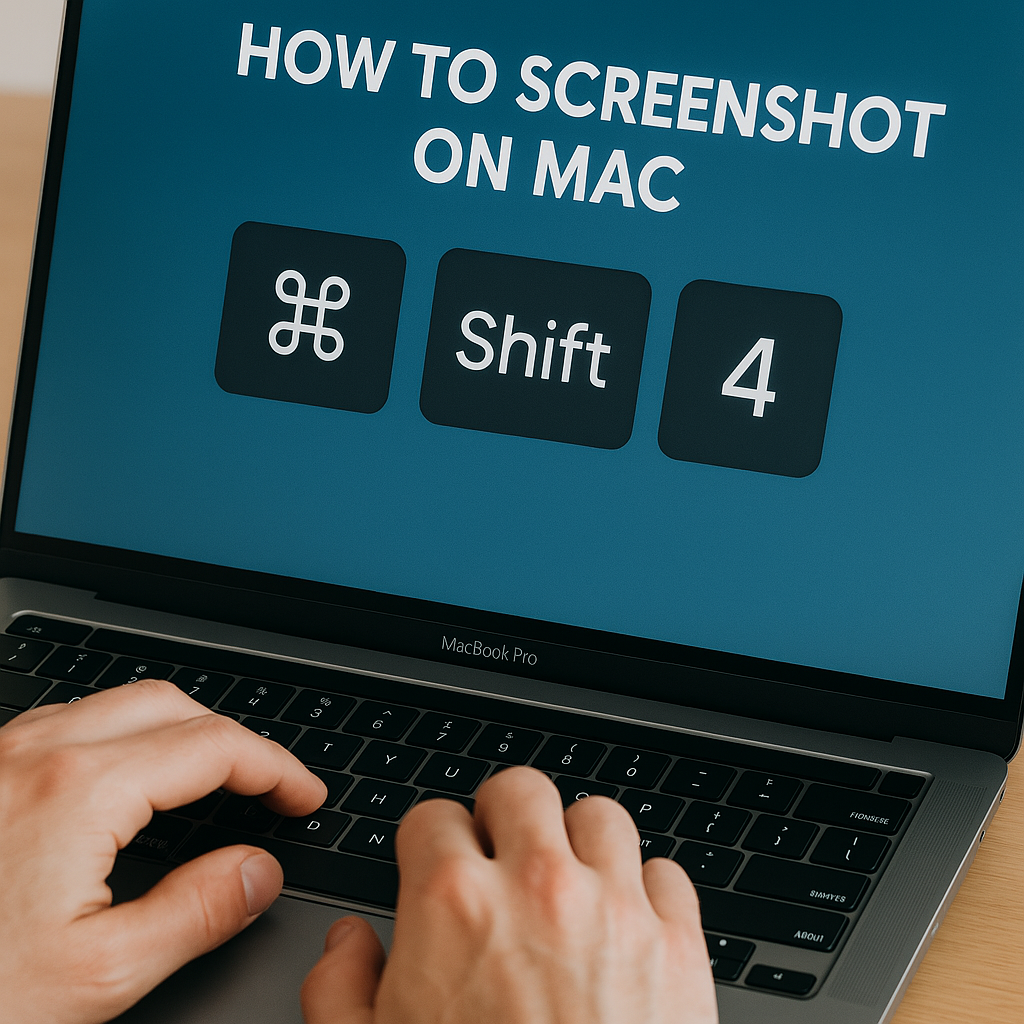
Taking a screenshot on Mac is incredibly easy, whether you need to capture the entire screen, a specific window, or just a portion of your display. Apple provides built-in shortcuts and tools that make the process seamless. If you’re new to macOS or just looking for the best way to snap a quick screenshot, this guide has got you covered!
1. Capture the Entire Screen
If you want to take a screenshot of everything displayed on your Mac’s screen, follow these steps:
Shortcut:
📸 Press Command (⌘) + Shift + 3
- The screenshot will be saved automatically to your desktop (or another default location).
- If you have macOS Mojave or later, a small preview will appear in the bottom right corner. You can click it to edit or move the screenshot before saving.
2. Capture a Selected Portion of the Screen
Need to grab just a part of your screen? Here’s how:
Shortcut:
📸 Press Command (⌘) + Shift + 4
- Your cursor will change to a crosshair.
- Click and drag to select the area you want to capture.
- Release the mouse or trackpad to take the screenshot.
3. Capture a Specific Window
If you want a clean screenshot of a particular window, macOS makes it easy.
Shortcut:
📸 Press Command (⌘) + Shift + 4, then press Spacebar
- Your cursor will change to a camera icon.
- Hover over the window you want to capture.
- Click, and the screenshot will be taken, including the window’s shadow.
- Hold Option while clicking to remove the shadow.
4. Use the Screenshot Toolbar for More Options
For additional controls, including screen recording:
Shortcut:
📸 Press Command (⌘) + Shift + 5
This brings up a toolbar with options to:
✅ Capture the entire screen
✅ Capture a selected window
✅ Capture a specific portion
✅ Record the screen (video)
You can also set a timer and choose where to save your screenshots.
5. Take a Screenshot of the Touch Bar (for MacBook Pro users)
If your MacBook has a Touch Bar, you can take a screenshot of it too!
Shortcut:
📸 Press Command (⌘) + Shift + 6
The image will be saved automatically.
6. Where Do My Screenshots Go?
By default, screenshots are saved to your Desktop with the filename format Screenshot [date] at [time].png.
Want to Change the Save Location?
- Press Command (⌘) + Shift + 5
- Click Options and select a new save location (like Documents or a custom folder).
7. Editing and Annotating Screenshots
Once you take a screenshot, you can edit it right away.
- Click the preview that appears in the bottom right corner.
- Use the built-in Markup tool to crop, highlight, draw, or add text.
Still Need Assistance Email Us:
support@cxquery.com


