Screen recording is an essential feature for capturing tutorials, presentations, gameplay, or troubleshooting sessions. Fortunately, Windows offers built-in and third-party solutions for screen recording, making it easy for users to capture high-quality footage. In this guide, we will explore the best methods to screen record on Windows, step by step.
1. Using Xbox Game Bar (Built-in Screen Recorder)
Windows 10 and 11 come with a built-in screen recording tool called Xbox Game Bar, designed primarily for gamers but also useful for general screen recording.
How to Use Xbox Game Bar for Screen Recording
📌 Step 1: Open the application you want to record.
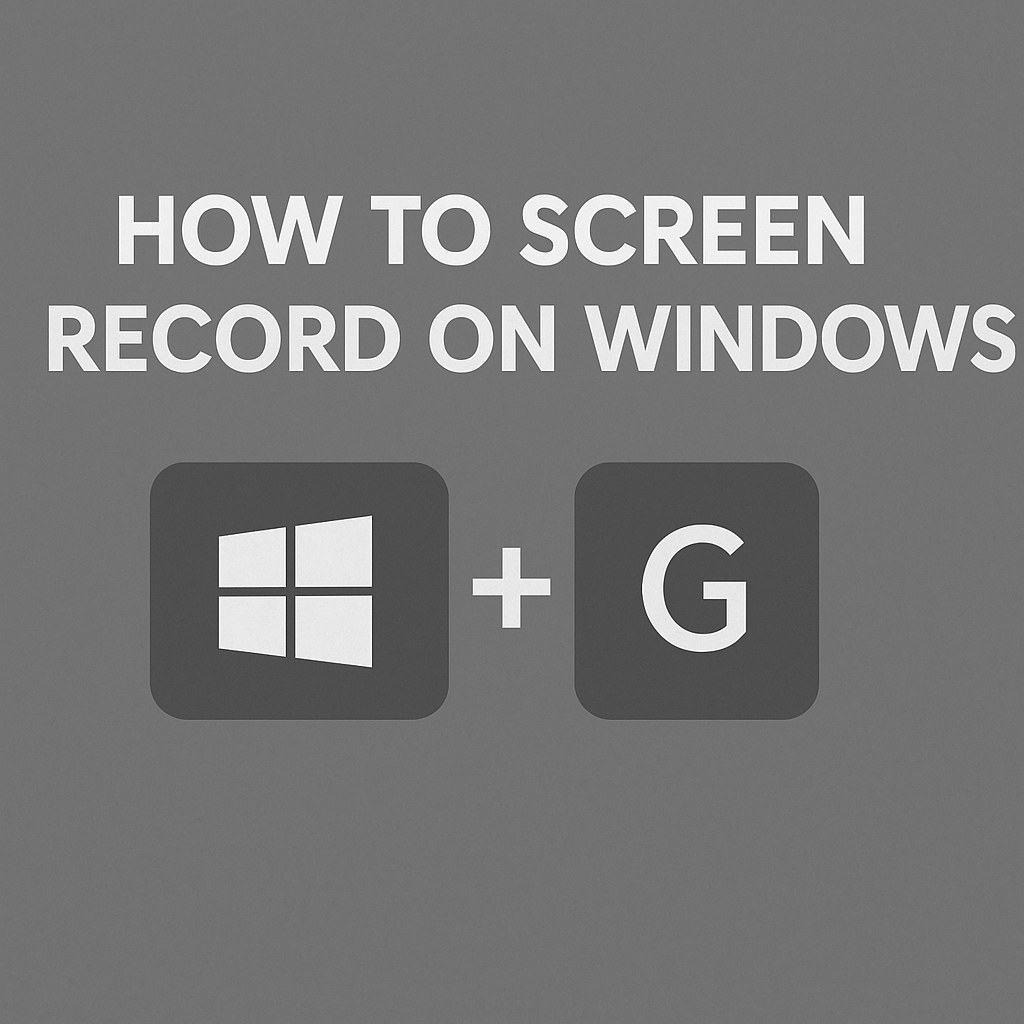
📌 Step 2: Press Windows + G to open the Xbox Game Bar.
📌 Step 3: Click on the Capture widget (camera icon) in the overlay menu.
📌 Step 4: Click the Start Recording button (●) or press Windows + Alt + R to begin recording.
📌 Step 5: To stop recording, press Windows + Alt + R again or click the Stop Recording button in the Game Bar.
📌 Step 6: The recorded video will be saved automatically in Videos > Captures.
Limitations of Xbox Game Bar
✅ Works best for recording application windows (not the entire desktop).
✅ Cannot record File Explorer or system settings menus.
2. Using Microsoft Clipchamp (For Windows 11 Users)
Windows 11 includes Clipchamp, a built-in video editor with a screen recording feature.
How to Use Clipchamp for Screen Recording
📌 Step 1: Open Clipchamp (search for it in the Start Menu).
📌 Step 2: Click Create a New Video and select Screen Recording.
📌 Step 3: Choose the screen, window, or browser tab to record.
📌 Step 4: Click Start Recording and capture your content.
📌 Step 5: Stop the recording and edit the footage before exporting it.
Why Choose Clipchamp?
✅ Offers video editing tools after recording.
✅ Allows recording webcam and screen simultaneously.
3. Using PowerPoint (For Simple Screen Recording)
PowerPoint has a built-in screen recording tool that is useful for presentations and quick recordings.
How to Record Screen with PowerPoint
📌 Step 1: Open Microsoft PowerPoint and go to the Insert tab.
📌 Step 2: Click Screen Recording in the toolbar.
📌 Step 3: Select the area of the screen you want to record.
📌 Step 4: Click Record, then stop when finished.
📌 Step 5: Save the recording as a video file.
Why Use PowerPoint?
✅ Quick and easy for presentations.
✅ No additional software required.
4. Using Third-Party Software (For Advanced Features)
If you need more flexibility, consider third-party tools like:
OBS Studio (Free & Advanced)
✅ Open-source and widely used for professional recordings.
✅ Supports multi-screen recording and live streaming.
Camtasia (Paid & Professional-Grade)
✅ User-friendly interface with built-in editing tools.
✅ Best for tutorials and business presentations.
Bandicam (Lightweight & Optimized for Gaming)
✅ High-quality screen and gameplay recording.
✅ Supports scheduled recording.
Conclusion
Windows provides multiple options for screen recording, from built-in tools like Xbox Game Bar and Clipchamp to professional third-party software. Whether you need a quick recording or advanced editing features, choosing the right method depends on your specific needs.
Recommended Approach:
🎯 Use Xbox Game Bar for quick recordings.
🎯 Try Clipchamp for simple recording and editing.
🎯 Use OBS Studio or Camtasia for high-quality professional recordings.
By following these steps, you can easily capture and share your screen recordings for any purpose. Happy recording! 🎬🎥
Still Need Assistance Email Us:
Support@cxquery.com